
Trimming Panels and Floor
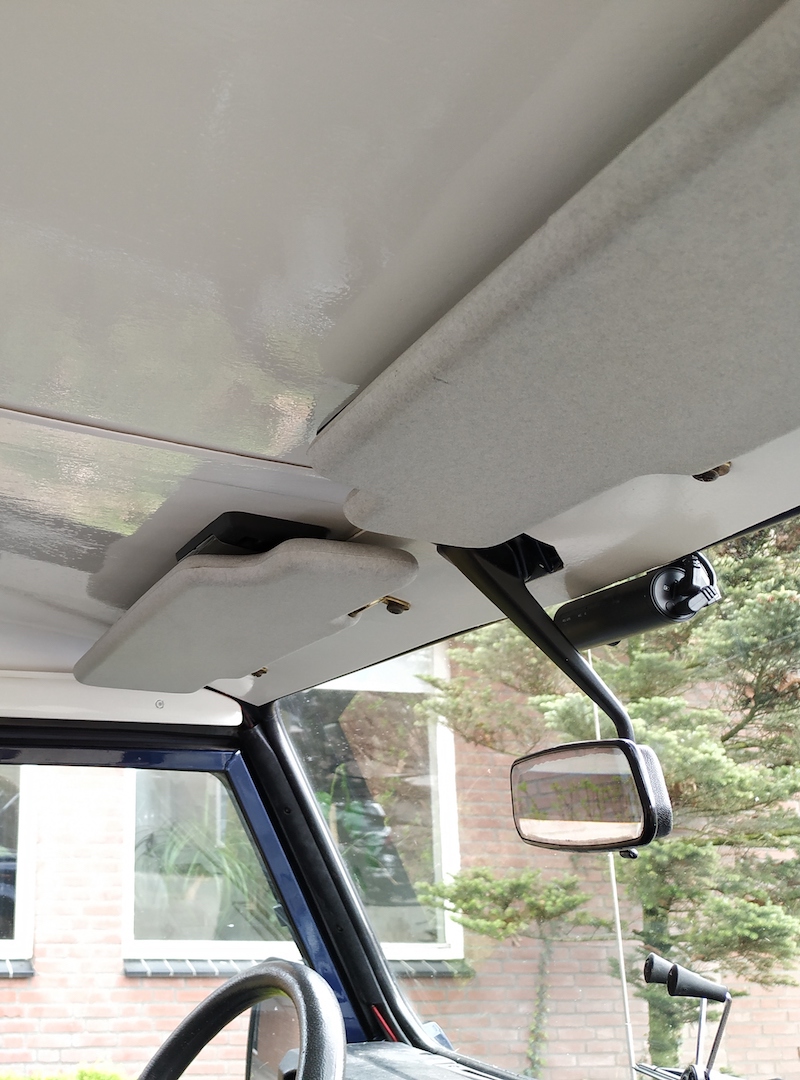
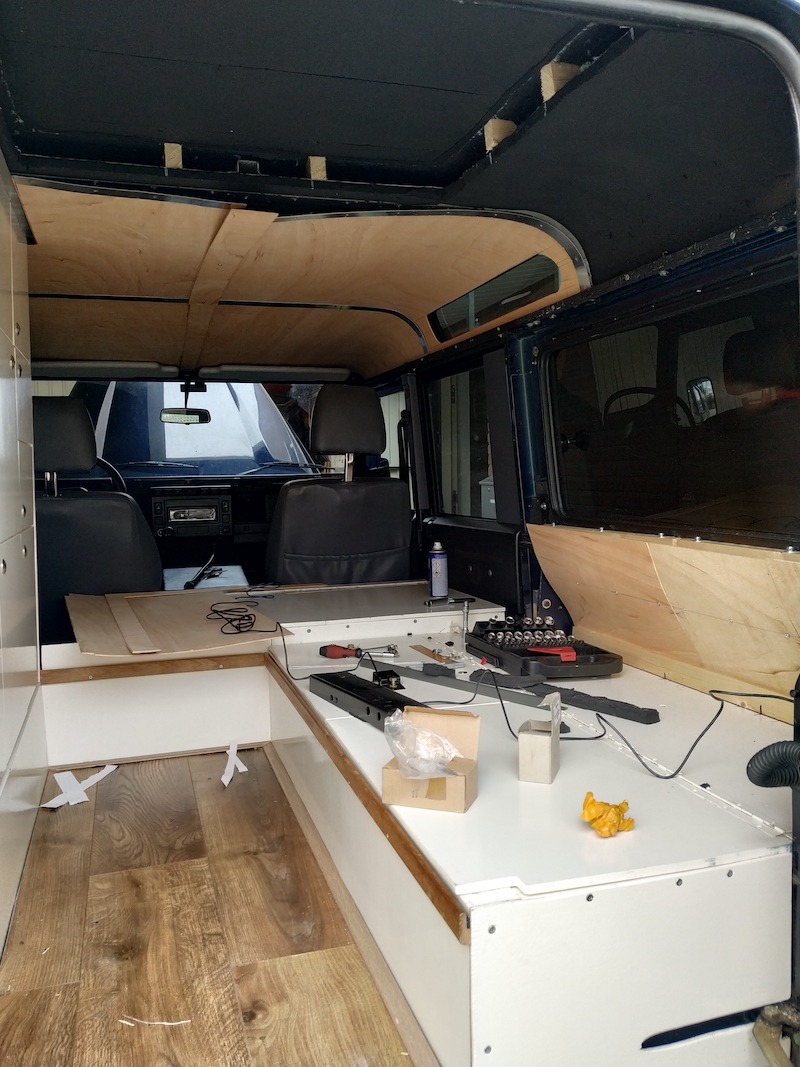
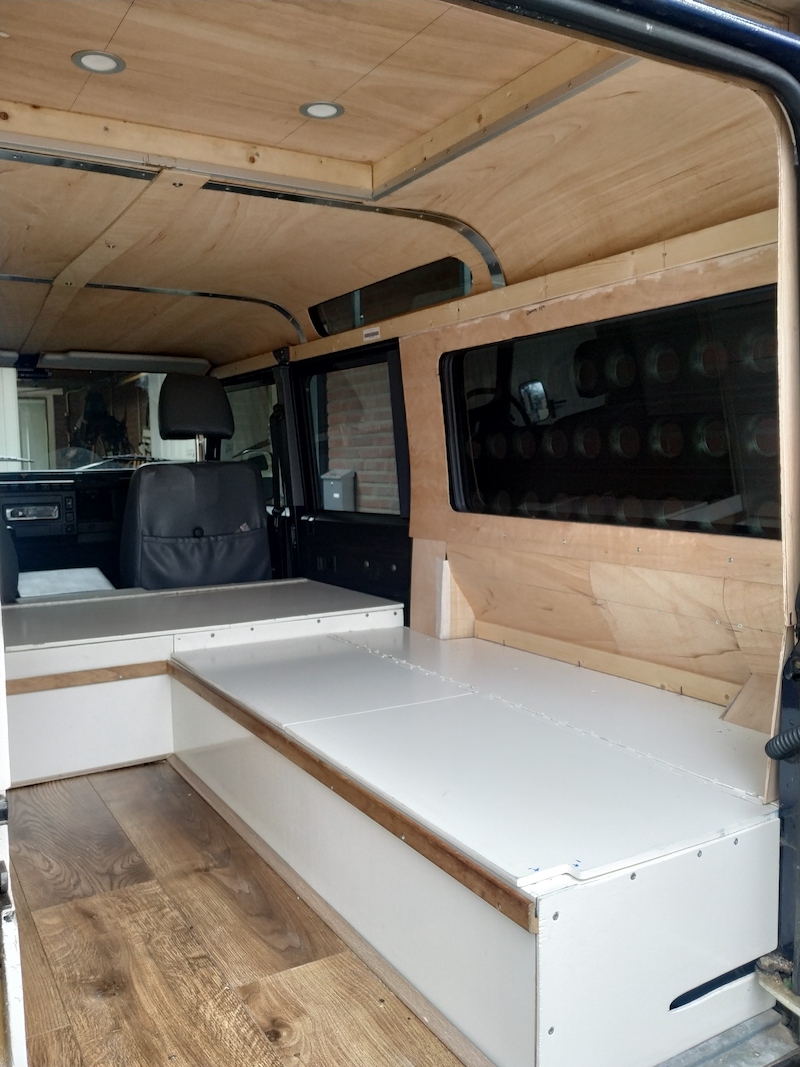
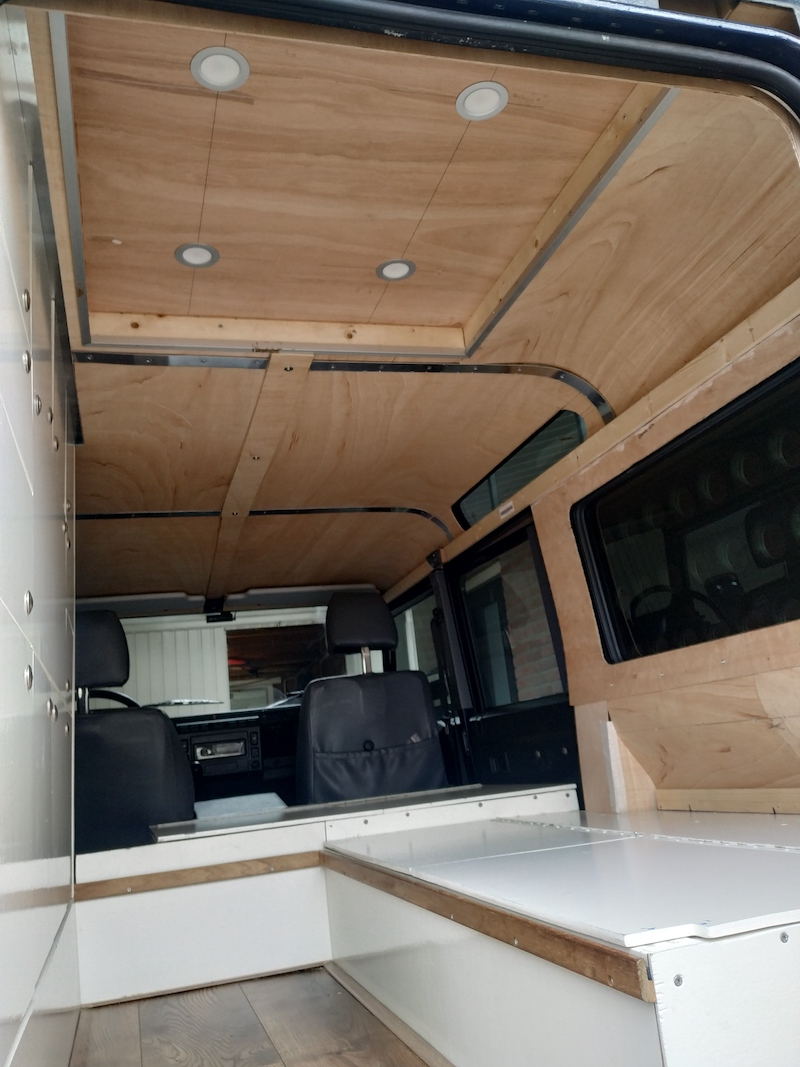


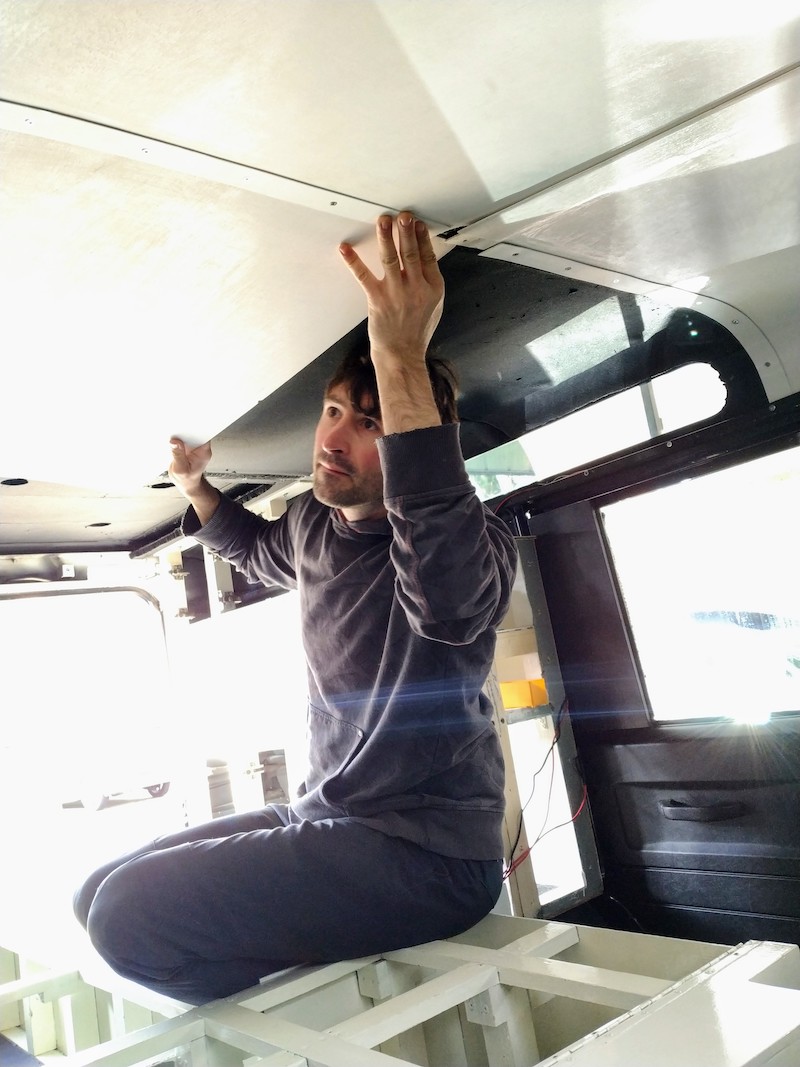


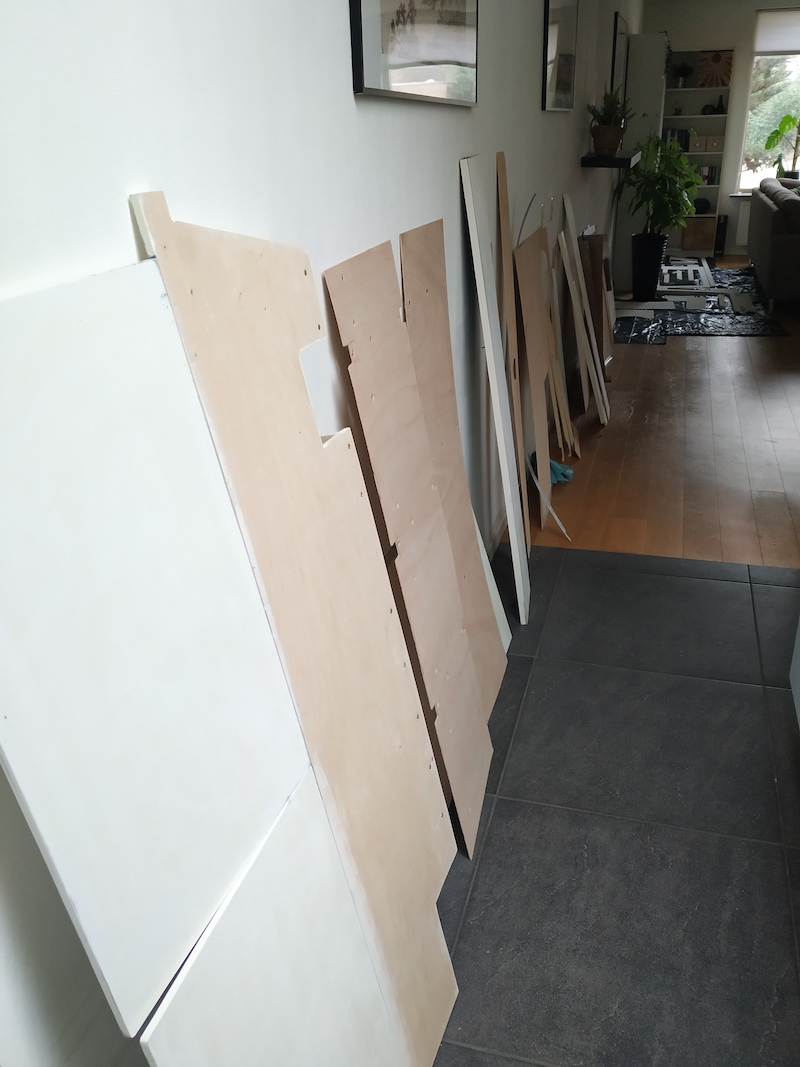
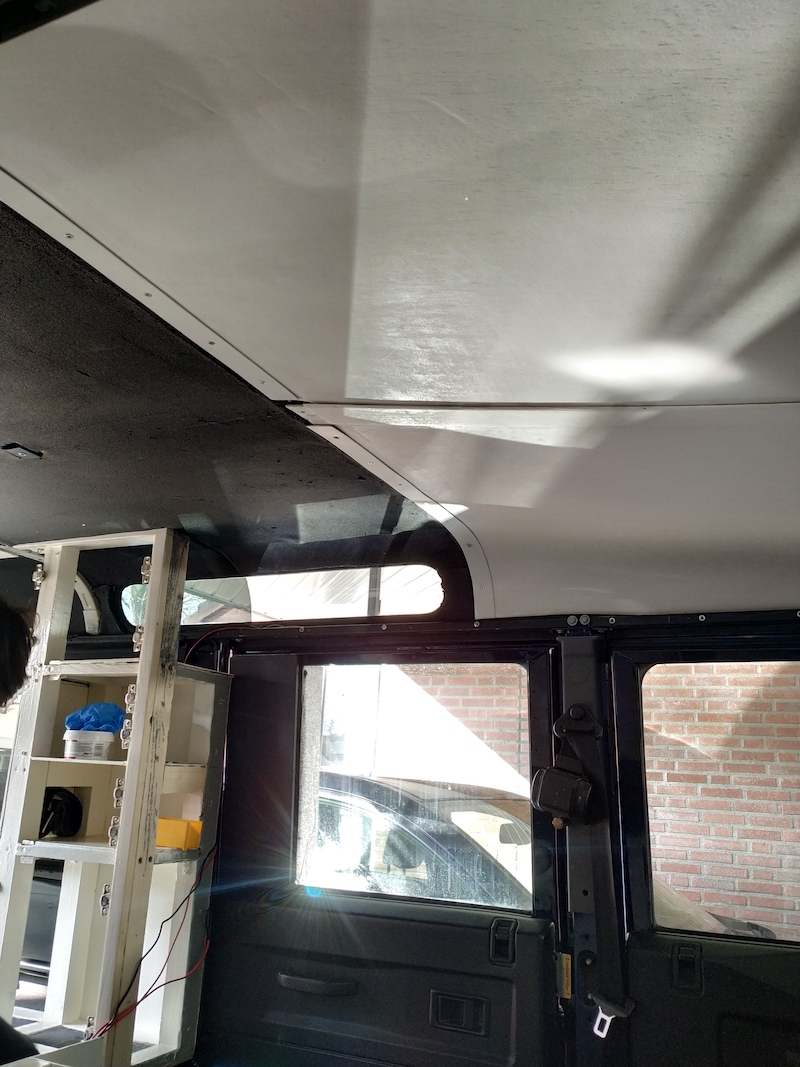

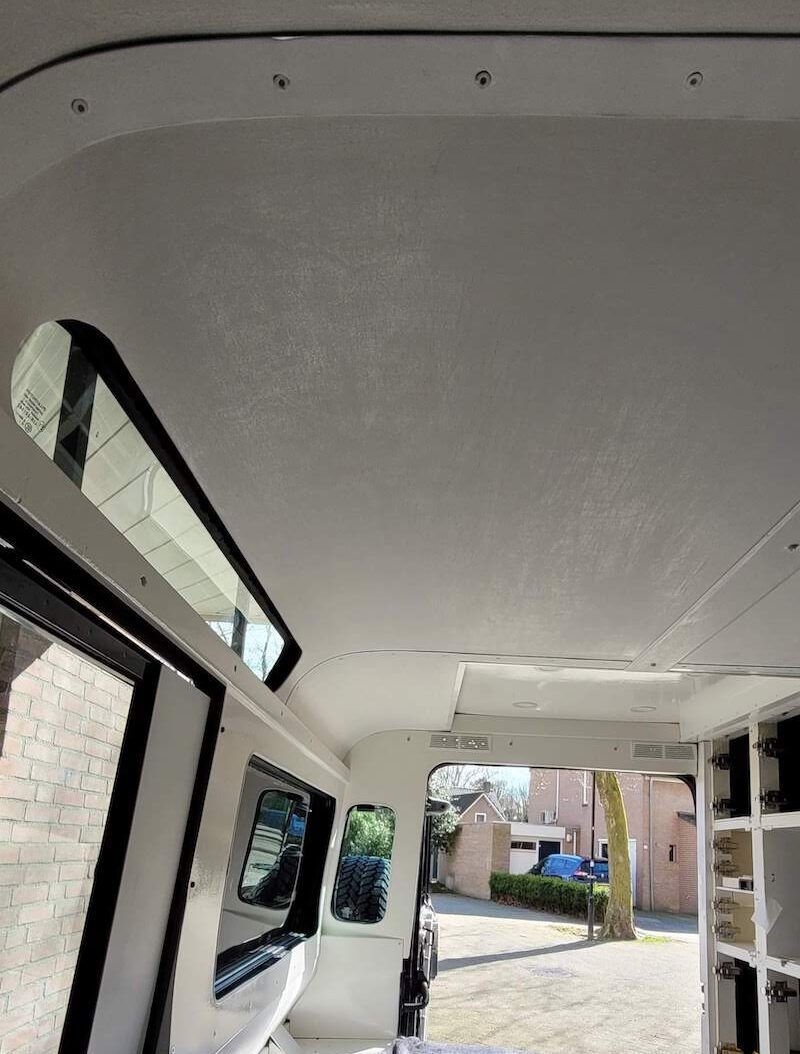

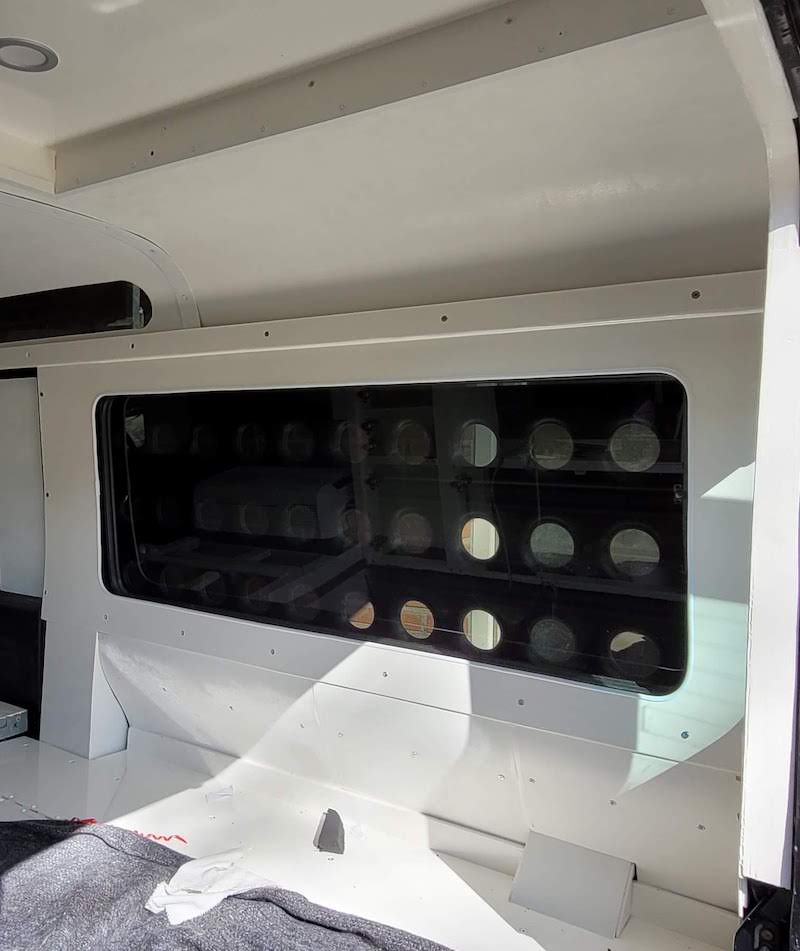

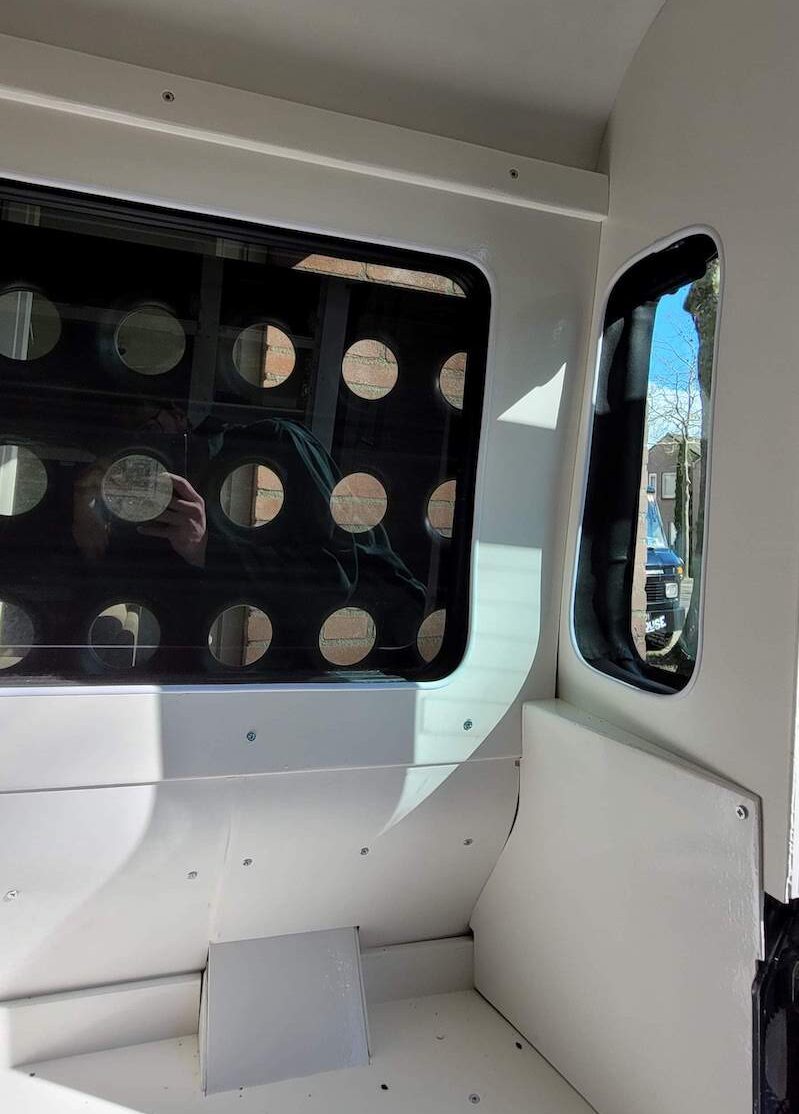
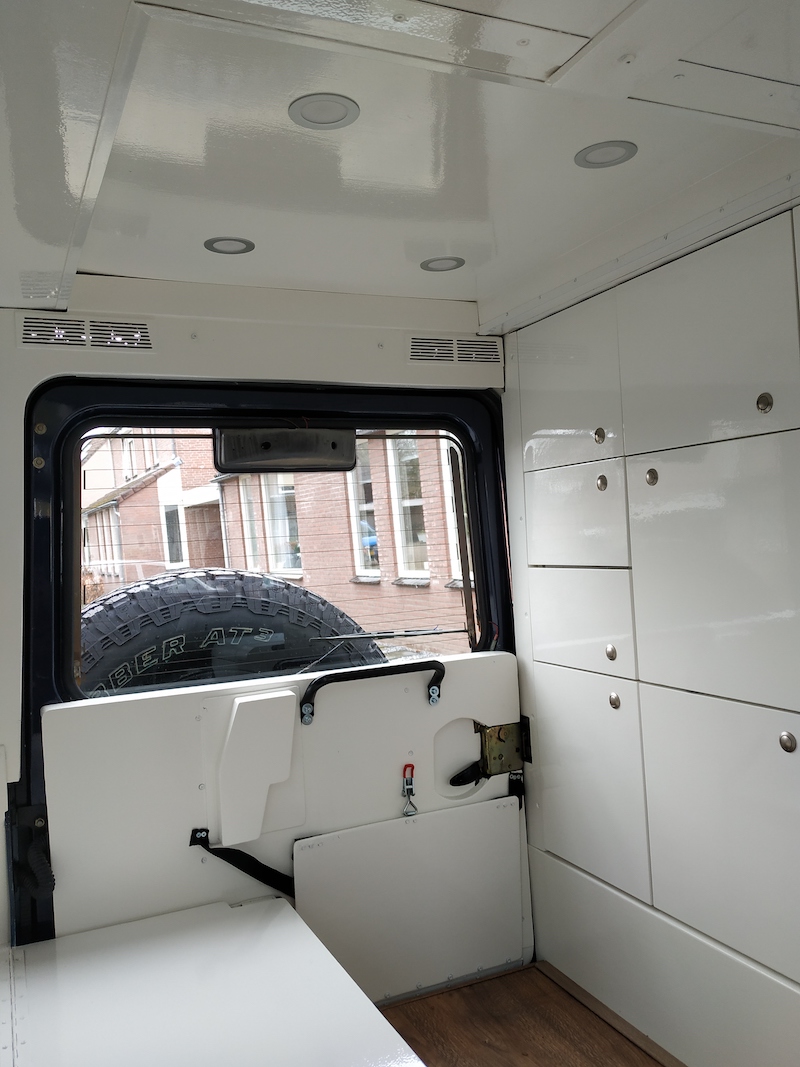
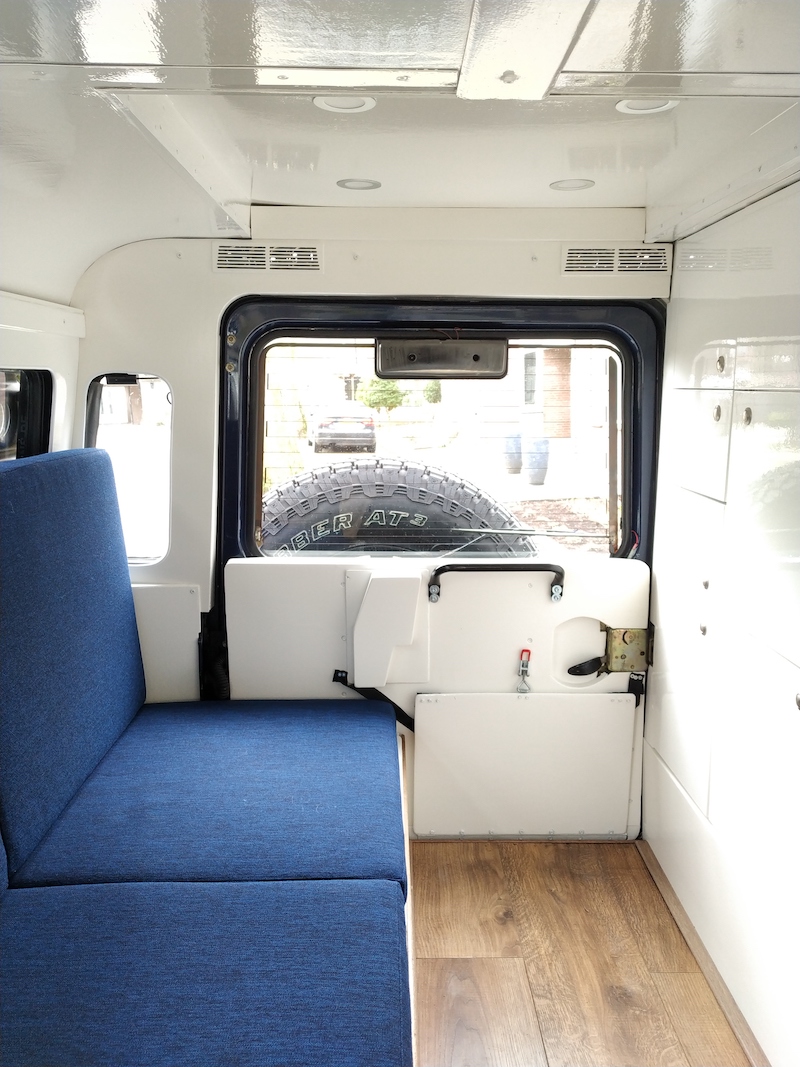
Trimming panels on the roof, sides, and backdoor played a crucial role in the aesthetics of our interior and imparted a cozy ambiance to the inside of our Defender. Crafting the roof trimming was a particular challenge, as we aimed to preserve the elegant curvature of the sides housing the alpine windows. Using six large bendable plywood panels with a thickness of 3 mm, we pre-bent the curvature into the panels using a negative model and steam (water + heat gun). This method prevented cracking during installation, especially in the front area where the radius is tight. The panels are secured in place by 1 mm x 50 mm bendable aluminum strips screw-riveted into the U-beams of our roof. To enhance structural integrity, a 3 mm x 70 mm plywood strip covers the centerline of the roof. A similar process was applied to the side wall trimming panels, merging them with the roofing using 10 mm x 50 mm wooden beams fixed with screw rivets into the Defender’s frame.
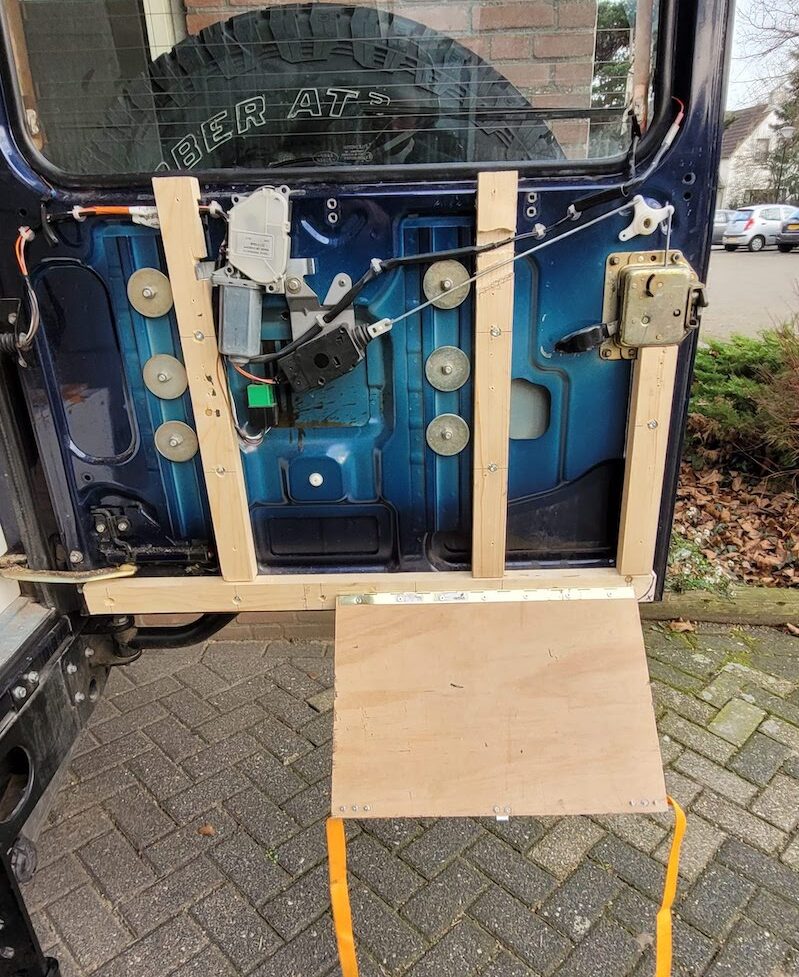
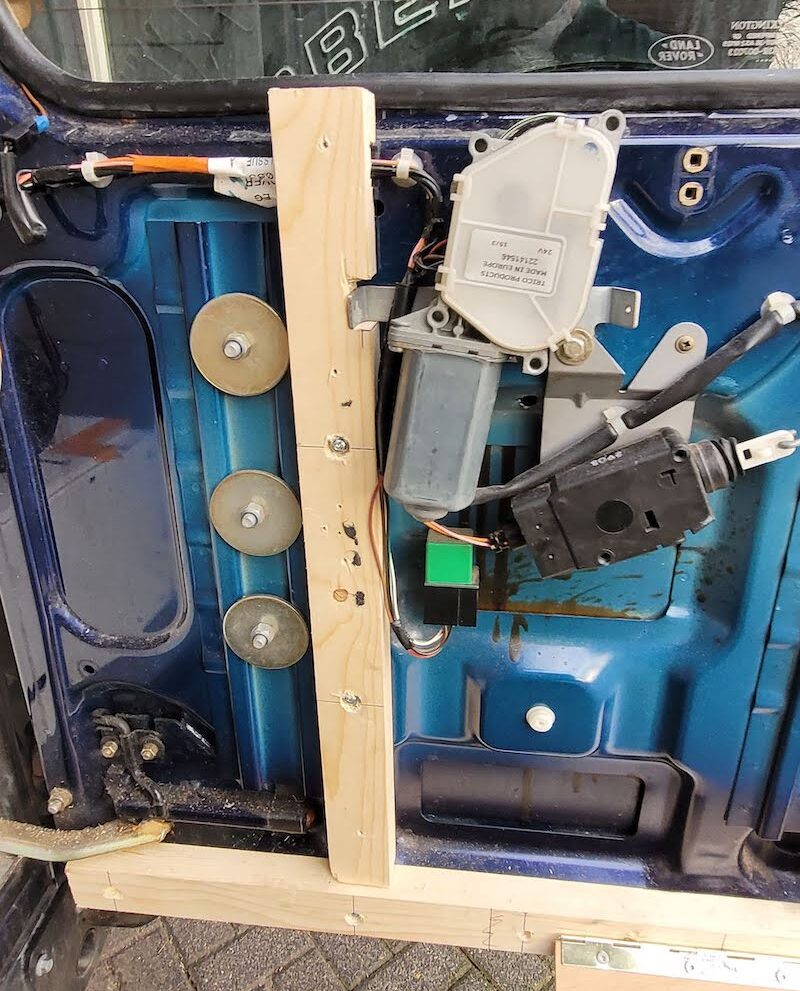
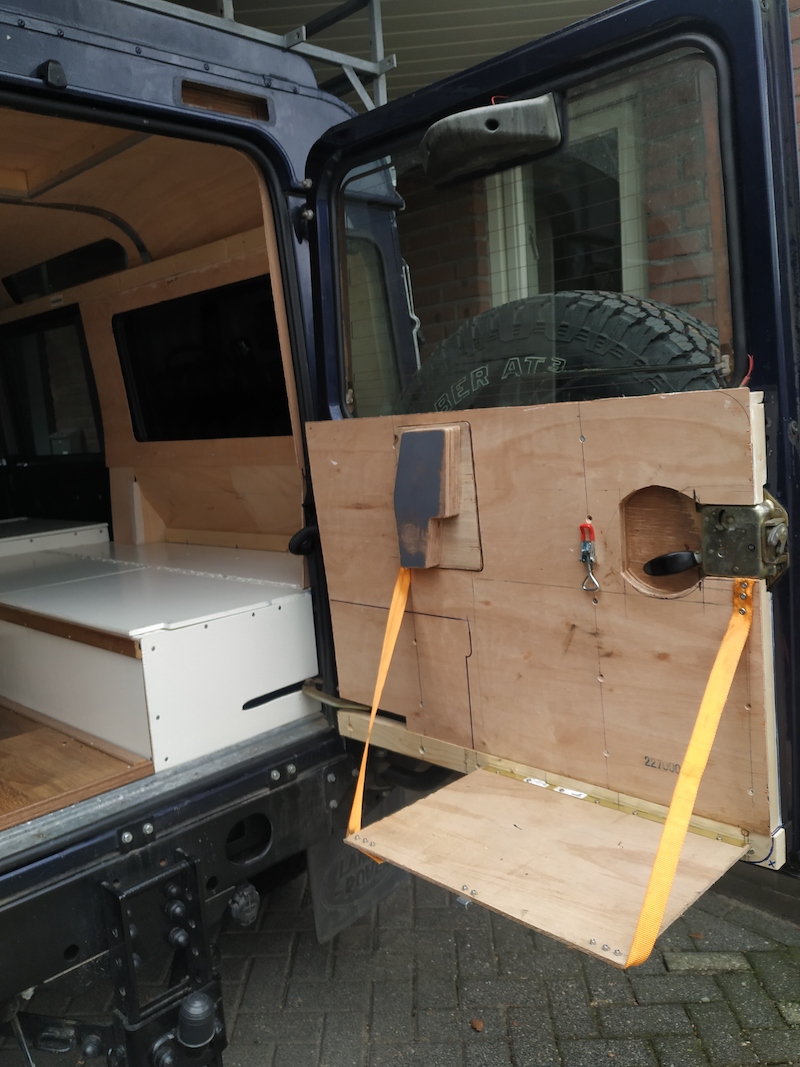
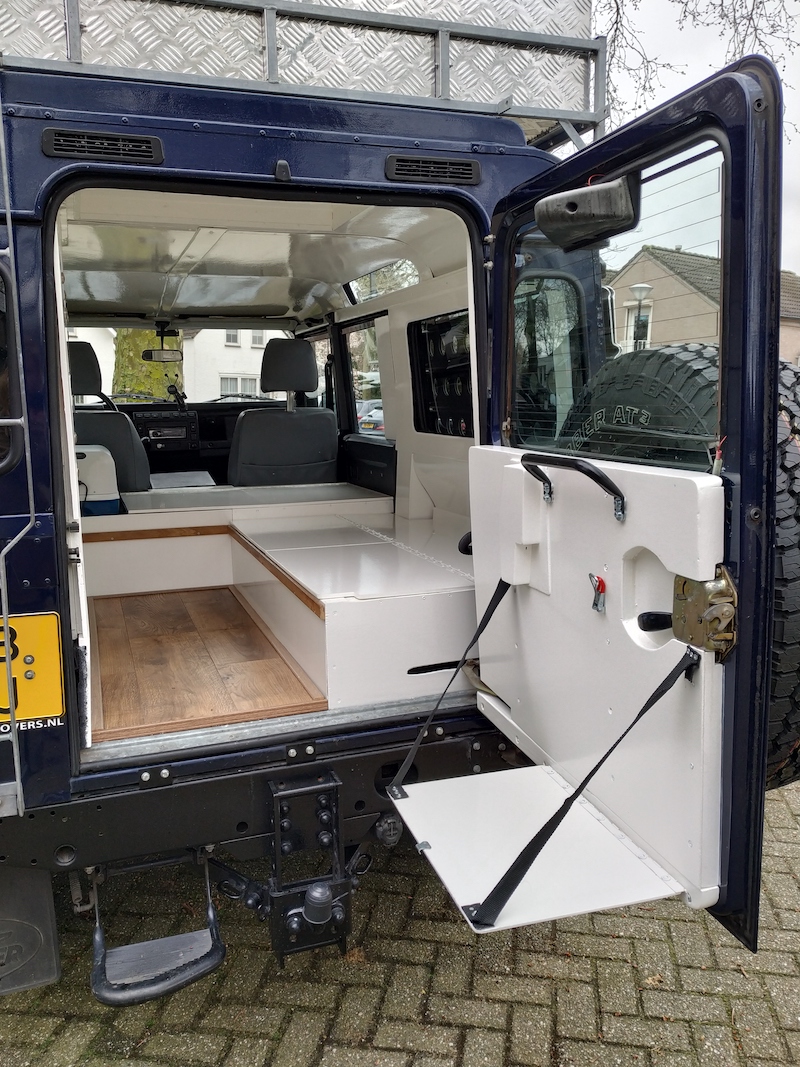
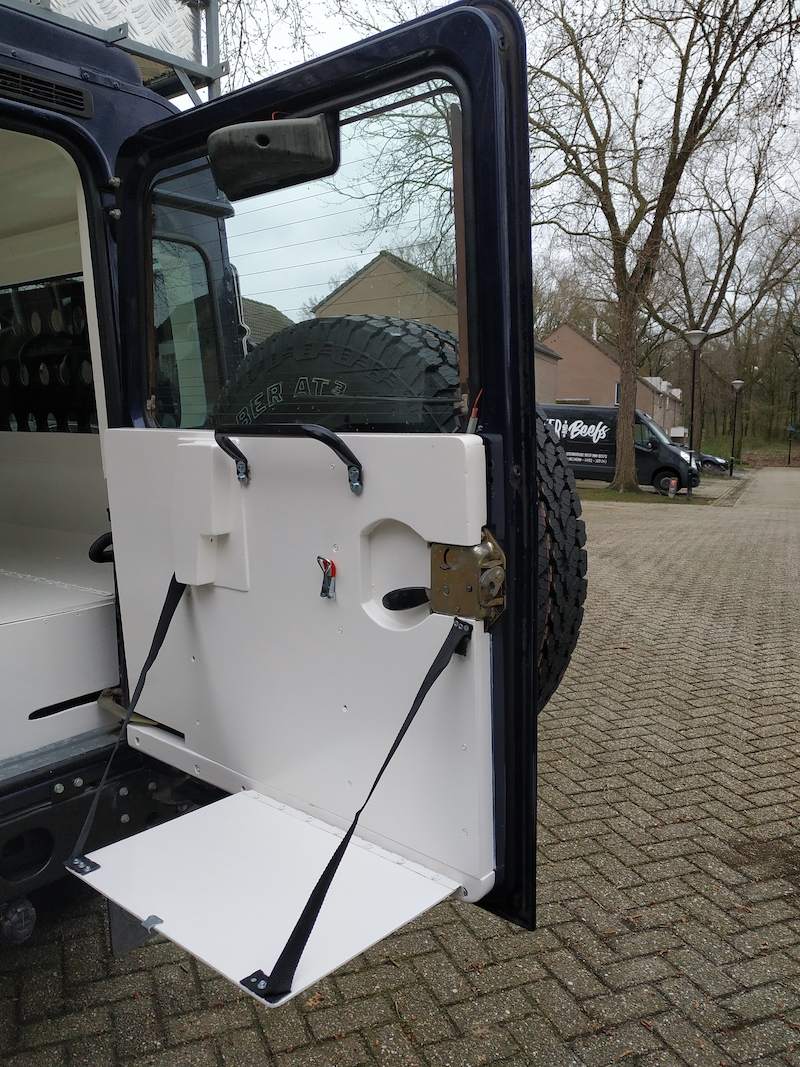
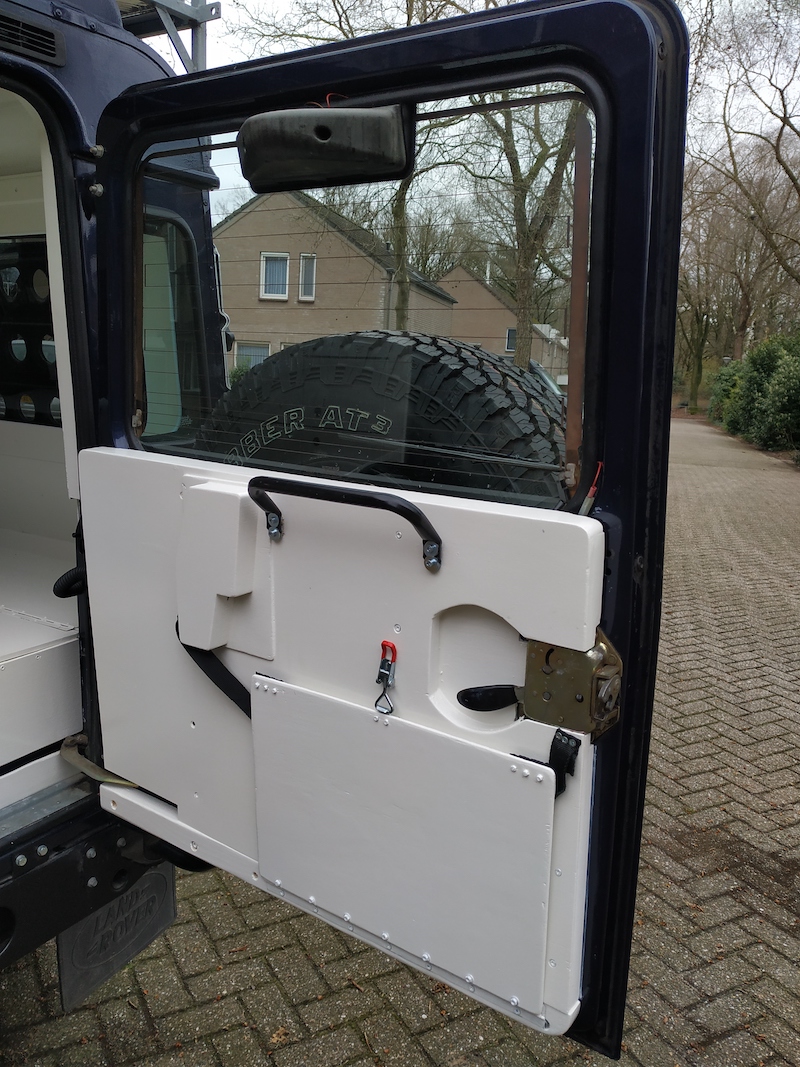
Creating the back door trimming involved additional work due to the protruding design of the window wiper motor by Land Rover. Inspired by other Defender overlanders, we integrated a small foldable table into the back door panel, ideal for our Coleman stove, transforming the space into a perfect outdoor cooking and eating area.
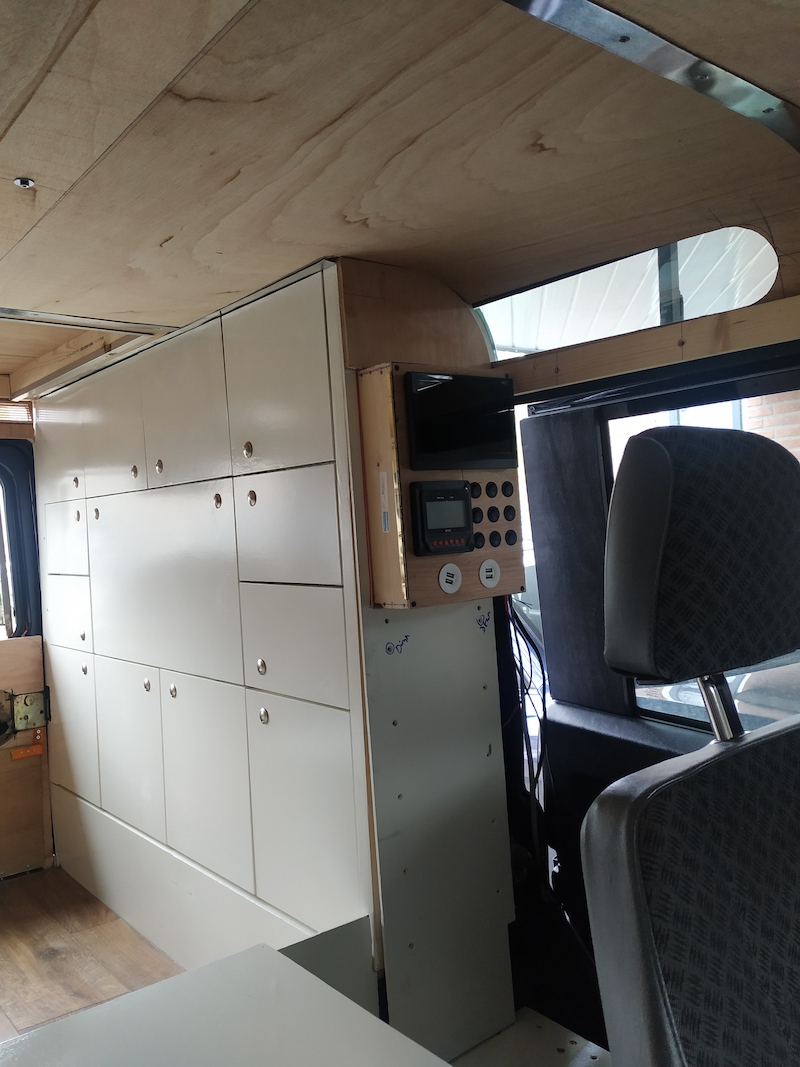
All trimming panels, including the back door, were painted with the same acrylic paint used for the storage compartments to ensure a cohesive look. Like the rest of the build, the trimmings are fully removable if needed.
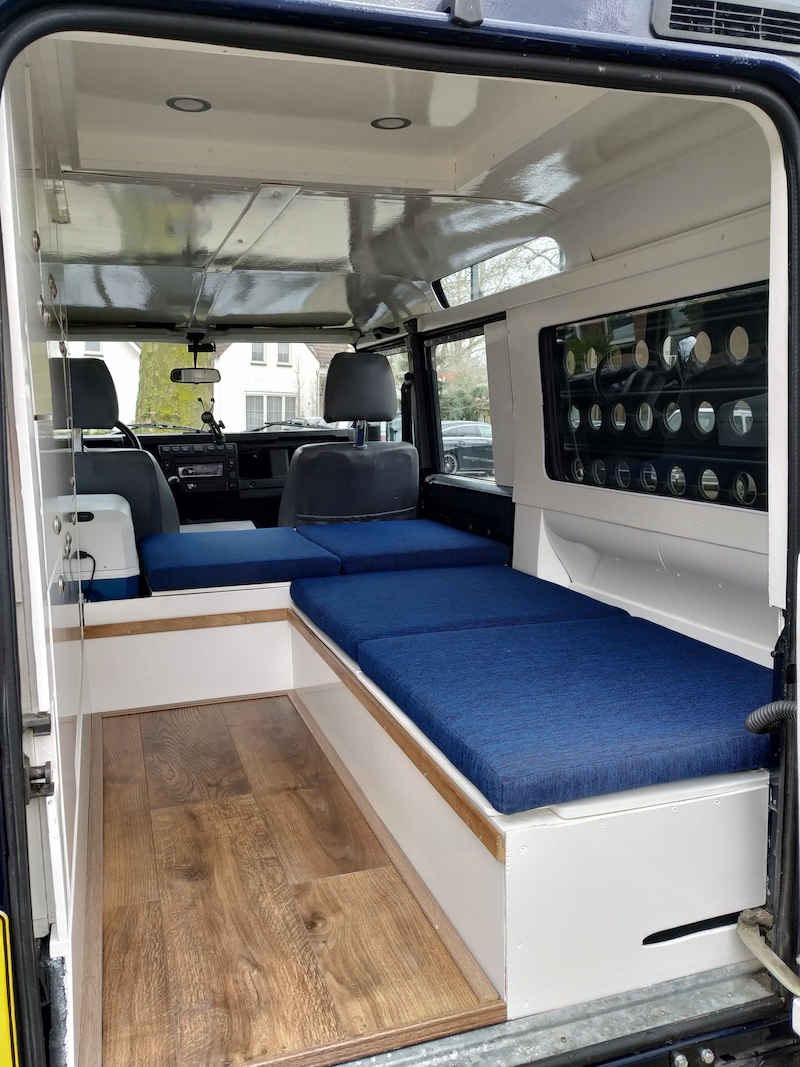
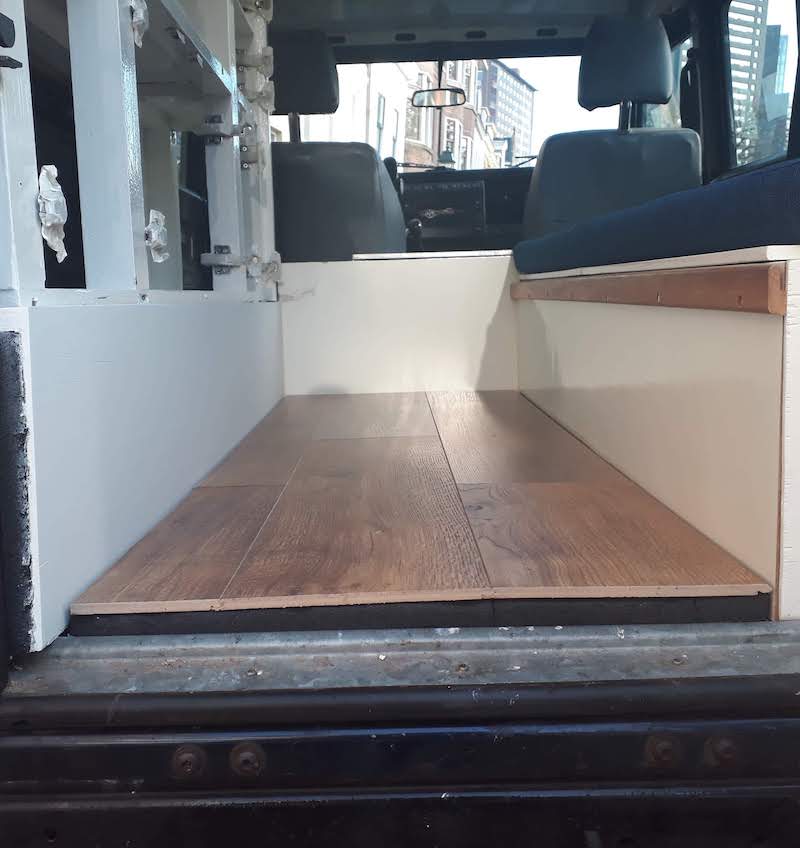
The wooden floor is a detail that adds a homely touch to the interior. Comprising just four pieces of “laminaat,” it significantly contributes to the overall aesthetic. An interesting fun fact is that we utilised leftover pieces from the floor of our apartment in The Netherlands, incorporating a part of our former home into our new one.